How to Process Silicone for Mold Making
Table of Contents
1. Measure Components
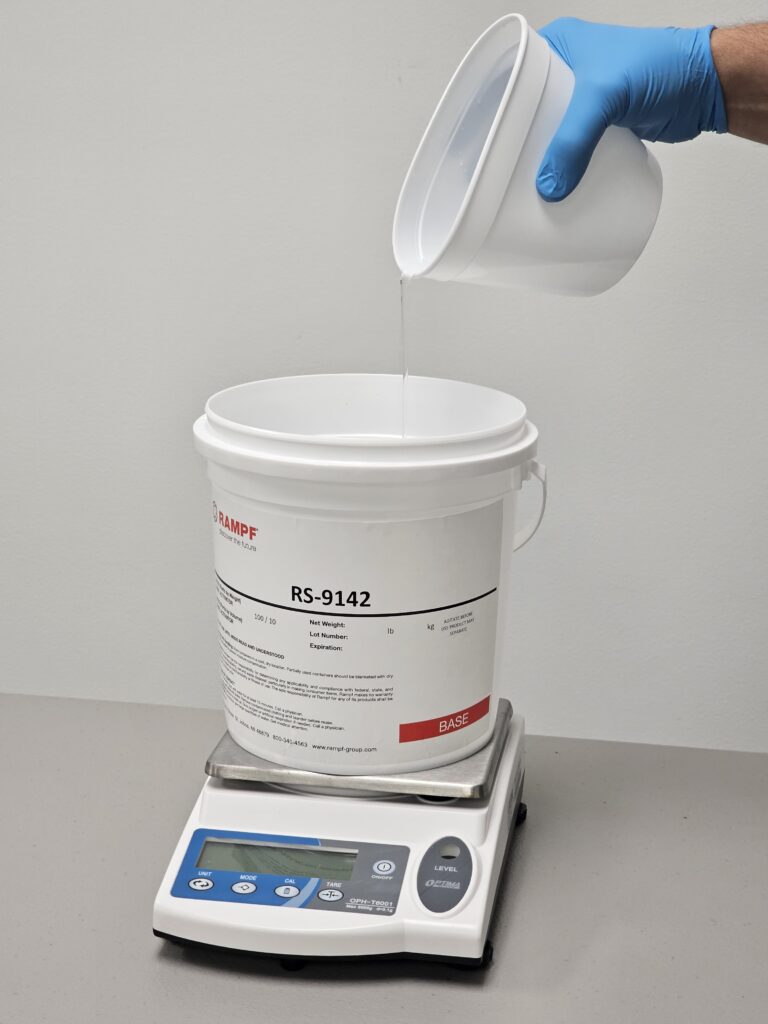
Weigh silicone according to mix ratio. Be sure to measure base material first in a clean and dry mixing bucket. Use a digital scale when measuring for best results.
2. Mix Thoroughly

Add activator to base material and stir thoroughly with a paint stick or paddle drill bit making sure sides and bottom of mixing container are scraped and well mixed.
3. Vacuum Chamber

Place mixed silicone in a vacuum chamber to draw out added air bubbles from mixing. Be sure to use a tall enough mixing bucket. The silicone will rise 3-5 times its volume until the air is drawn out of the material and the material collapses back down to its original volume. Continue degassing for 5 minutes. Release the pressure back into the vacuum chamber slowly.
4. Pour

Carefully pour silicone into a corner of the mold box, trying to fill from the bottom to top. Do not pour on top of the master to avoid breaking off the gate it is glued to or trapping air in de-tailed surfaces. Fill ¾” over the master
5. Allow to Cure

Allow the silicone to cure overnight or until TDS instructs. (Tip: Two ways to minimize air bubbles in the mold: Put poured mold into a vacuum chamber for 5-10 minutes and allow any trapped air to be removed. And/or put mold into a pressure tank at 40-60 psi during the entire curing processes.)
6. De-mold
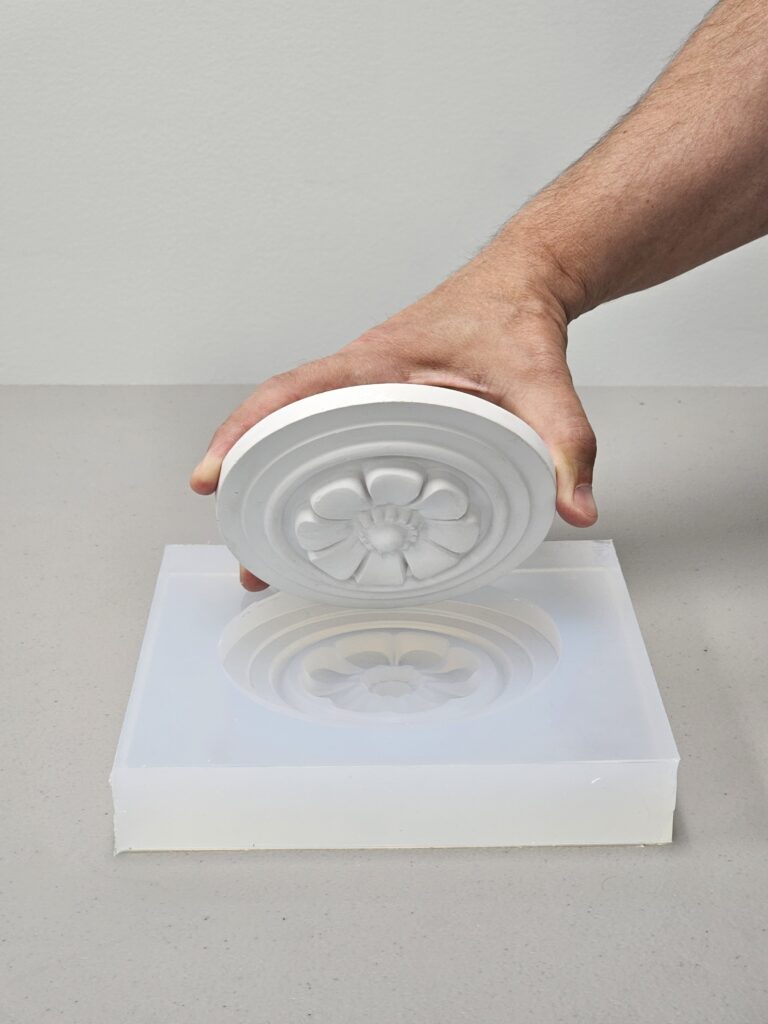
Deconstruct the mold box and remove the silicone mold. Once the master part is carefully removed from the mold, give the silicone mold a slight post cure in an oven at 120 degrees F for one hour before casting a first part. (Tip: Some molds need to be cut open along a parting line. Use a narrow xacto knife with a sharp blade to make cuts that will act as locking features when putting the mold back together.)
7. Finished Product

Clean out any flash, blow off the surface of the mold with compressed air, and put the mold back together. Use packing tape, rubber bands, or wood with screws, making sure not to over compress the sides of the mold. The mold is now ready for polyurethane casting!

