Mastering Silicone Mold-Making: A Step-by-Step Guide
Table of Contents
1. Accurate Measurement for Precision
Embark on your silicone mold-making journey with a focus on accuracy in measurement. Prioritize the precise weighing of components, starting with the base material. Utilize a digital scale to ensure meticulous measurements for a flawless mold.
2. Careful Blending Process
Merge the activator with the base material, stirring thoroughly for a comprehensive blend. Use a paint stick or paddle drill bit to reach every corner of the mixing container. Take your time to achieve a seamless and well-mixed concoction, setting the foundation for a successful mold.
3. Bubbles Be Gone: Vacuum Degassing
Escort the mixed silicone to a vacuum chamber to eliminate pesky air bubbles. Observe as the material expands and then collapses, indicating successful air expulsion. Continue degassing for 5 minutes, gently releasing pressure for a bubble-free mixture.
4. Pouring Finesse
Pour the silicone with finesse into a corner of the mold box, filling from the bottom upwards. Preserve the integrity of the master by avoiding direct pouring onto it. Optimal results are achieved by filling ¾” over the master using a careful pouring technique.
5. Exercise Patience in Curing
Grant the silicone the necessary time to cure, whether overnight or following Technical Data Sheet (TDS) specifications. To minimize air bubbles, consider a brief stint in a vacuum chamber or a stay in a pressure tank during the curing process.
6. Unveiling the Mold
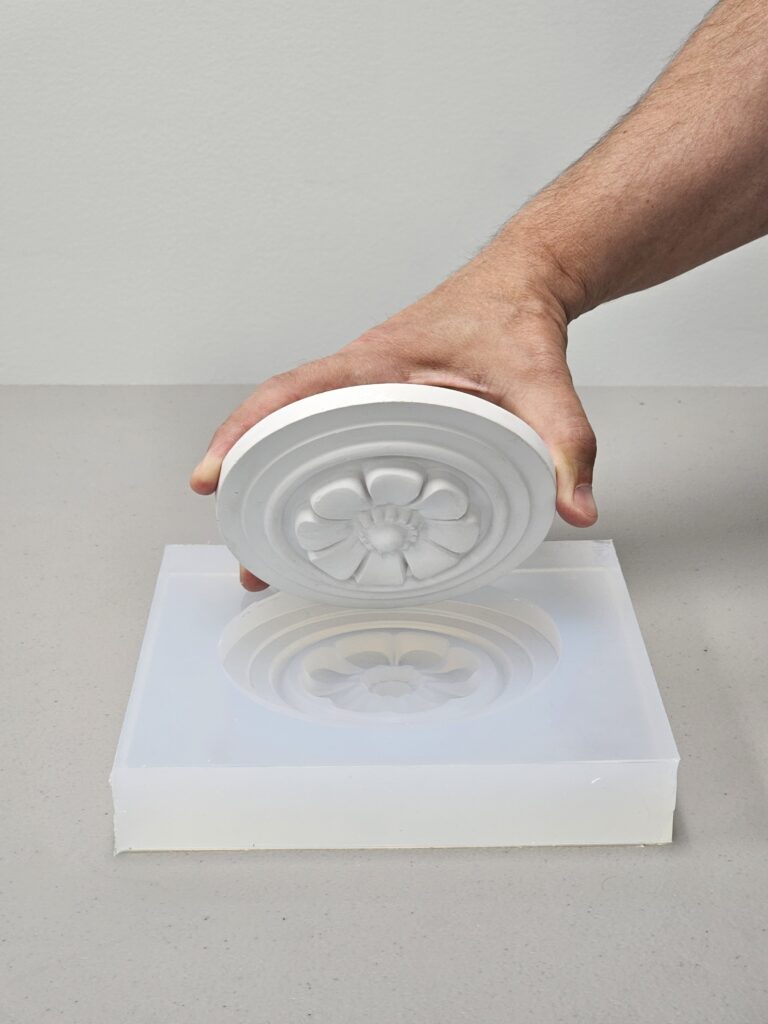
With the mold box dismantled, delicately extract the silicone mold. After carefully freeing the master part, consider a subtle post-cure in an oven at 120 degrees F for one hour before casting the inaugural piece.
7. Seamless Integration: Putting it All Together
Eliminate excess material, blow away surface imperfections with compressed air, and reassemble the mold. Use packing tape, rubber bands, or screws with caution to avoid over-compression. Your silicone mold is now ready for polyurethane casting, marking the triumphant conclusion of the mold-making process.

